
This post explains things that are difficult to find even in English. That’s why I will break my rule and will not write it in my native language! Po wersję polską zapraszam do google translate :>
Table of Contents
Introduction
Azure Storage Explorer is the tool that is most useful for managing files in our Azure cloud. But it can also be successfully used to indicate how to correctly send REST requests in specific situations! And this short tutorial will show you how to do it 🙂
Azure Storage Explorer (ASE) – its engine
Let me first just remind you, that tools like Azure Storage Explorer, Azure Data Studio or even Visual Studio Code are written mostly in javascript and typescript used together with node.js. In fact, they even share same part of the code (this is why they look similar). And with the “magical” engines: Electron & Chromium, which bring web-oriented code to desktop environments, those applications can be compiled for different operating systems from the same source code. It means that you can have the same Azure Storage Explorer on Windows and Linux, without any special effort from developers…
And yeah, it means that they all work as web pages internally, inside the engine of your desktop app! And it means that you can debug them just in the same way you debug web pages…
Why do I even need to debug REST calls?
Well, let’s face the truth. Microsoft’s documentation can be far behind actual implementation of features included in storage explorer. So if you need to recreate in your code just the same action that ASE is executing, this can be really helpful. And enlightening! I had to do this in my Powershell script, but this will be a topic to describe in other post 🙂
Preparations
We will need an Azure Data Lake Gen2 service, along with its access keys (one of them). We will use it in Azure Storage Explorer to connect to storage account.
- This example should simulate accessing your storage with REST API, which currently (2019.03) need access key to sign requests! Cutting all of that technical crap, it means you NEED shared key, do not connect with your Azure credentials 🙂
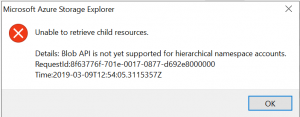
- Azure BLOB API is still unsupported for ADLS Gen2 with hierarchical namespace turned on (2019.03, yeah, I know, even if ADLS Gen2 is in GA, I feel bad with it too!) So don’t be surprised if you gonna try using it on Gen2
- I told you! ;D

Get yourself a shiny brand new ASE from MS
- Get it from here: https://azure.microsoft.com/en-us/features/storage-explorer/
- I know this is obvious… But believe me, getting most up-to-date version is really important. Sometimes even that is not enough, if something is not working just try to use insiders version (in app go to Help->Opt In to Insider Builds). Sometimes it helps! (a lot…)
Getting keys and account name
- Just go to you portal, then to storage account – in my case v2 intentionally chosen for creating Azure Data Lake Storage Gen2 with Hierarchical Namespaces (enabled in advanced tab of that service)
- Then click on:
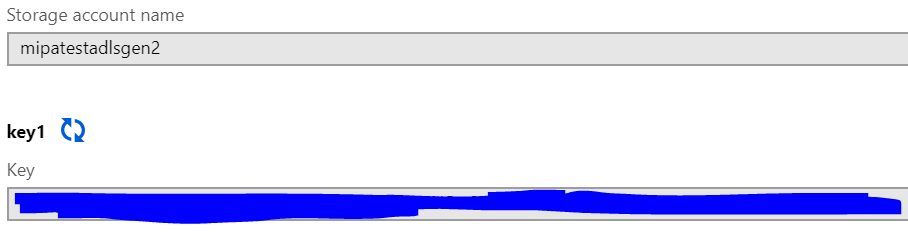
- Now grab you keys and account name. Copy it somewhere, we will gonna need this later in ASE.
- Of course keys are your secret, remember that when you will try to hardcode them and then commit in your repository… 😛

Connecting to your storage from ASE
Again, it’s important that you will create a connection using storage account name and key, not using Azure Credentials.
Adding connection
- Go to your Azure Storage Explorer
- Create new connection by clicking:

- Choose:
 and click “Next”
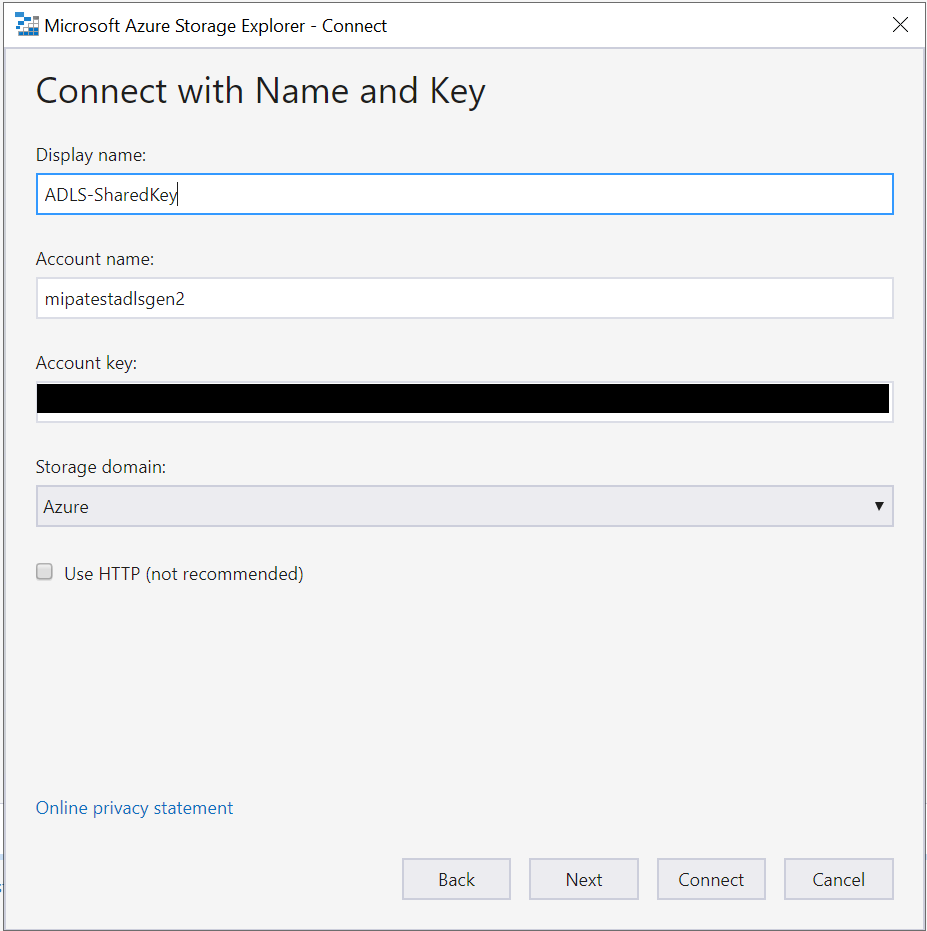
 - Enter your storage account name, key and and give this connection a name.
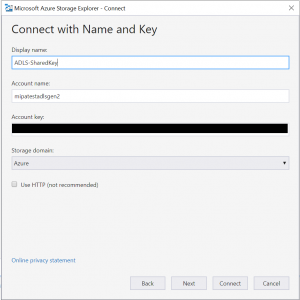
- Click Next, then Connect.
Connecting to ADLS
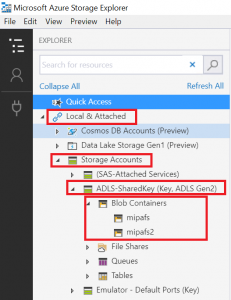
- Creating a connection will save your connection under “Local & Attached” tree level. You can see that I have two file systems:
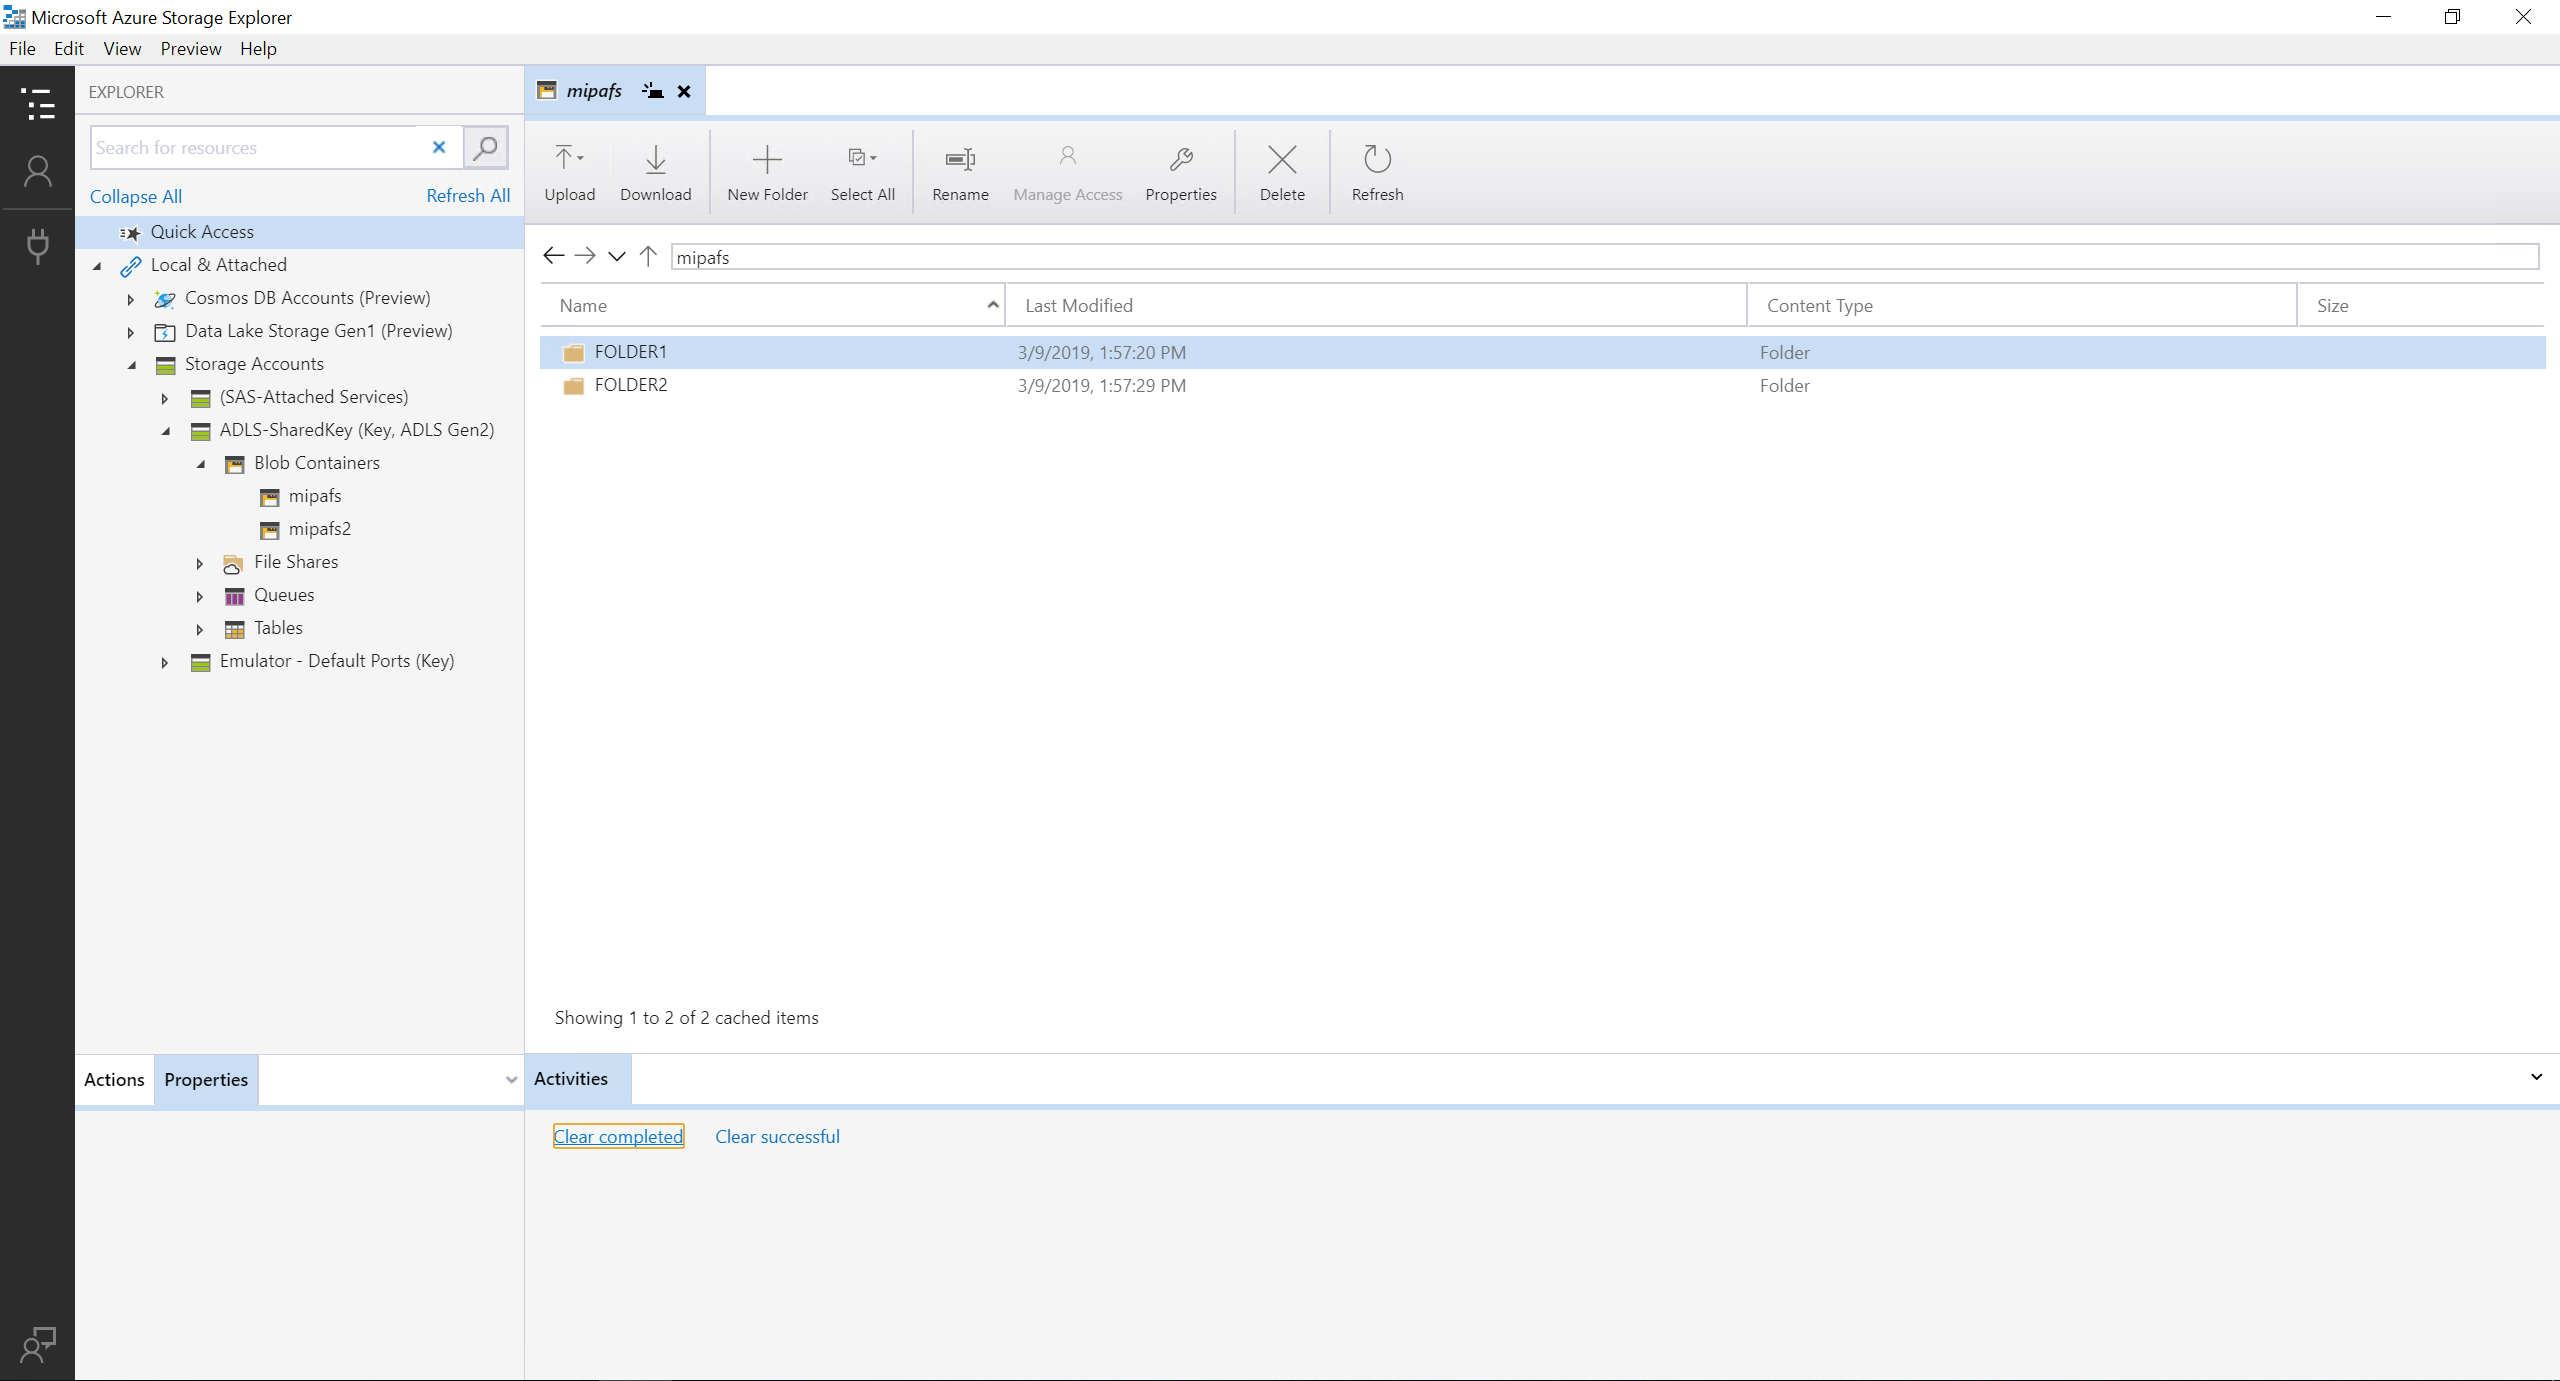
- I have also two folders in my mipafs data lake:

Sniffing REST calls
So here it is. First we need to enable debugger, then start recording network and of course do some action in ASE
Toggle Developer Tools and start network recording
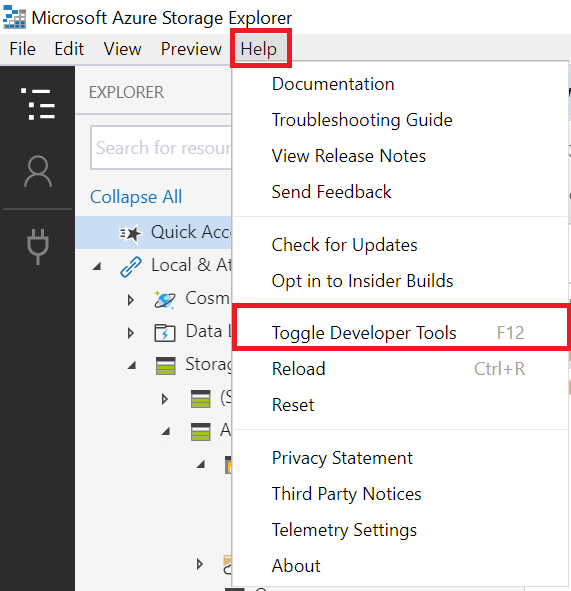
- Go to Help menu, choose Toggle Developer Tools or press simply F12 🙂

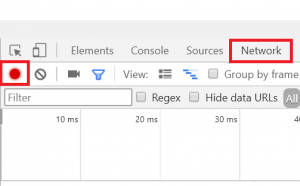
- Dev tools window will come up, press Network tab and start recording by clicking record button.
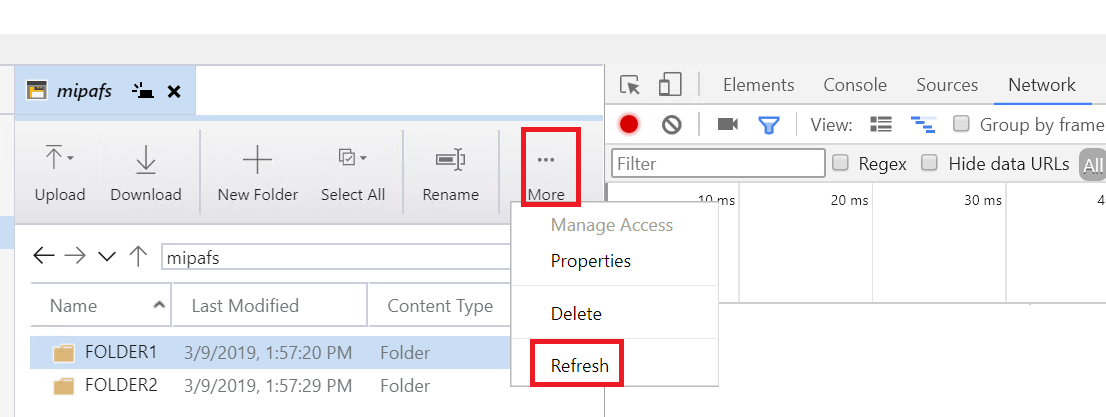
- Now go back to your ASE and make an action. Click MORE and try to refresh folder list


Reading REST call content
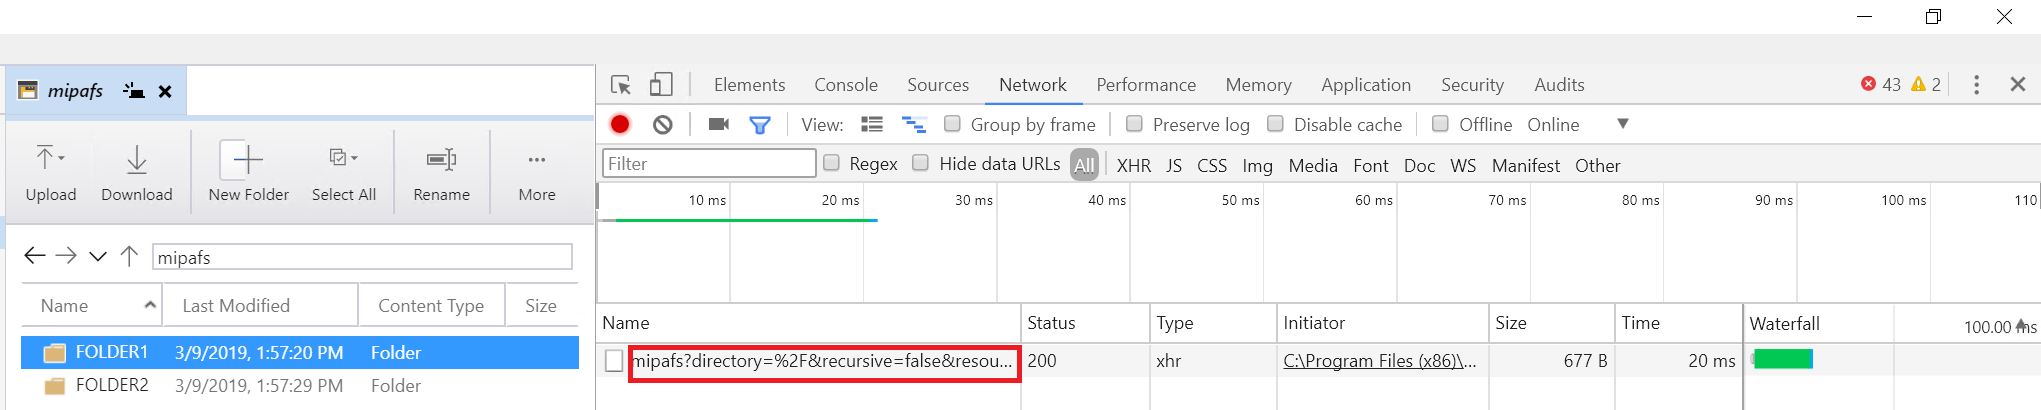
After “making a call” to ADLS API, Azure Storage Explorer and its network recording tool, will gonna show you an object in the network recording pane. This is something that will represent everything that went through headers over http(s) request. There will be also a time and size of that call. Click on it’s name!
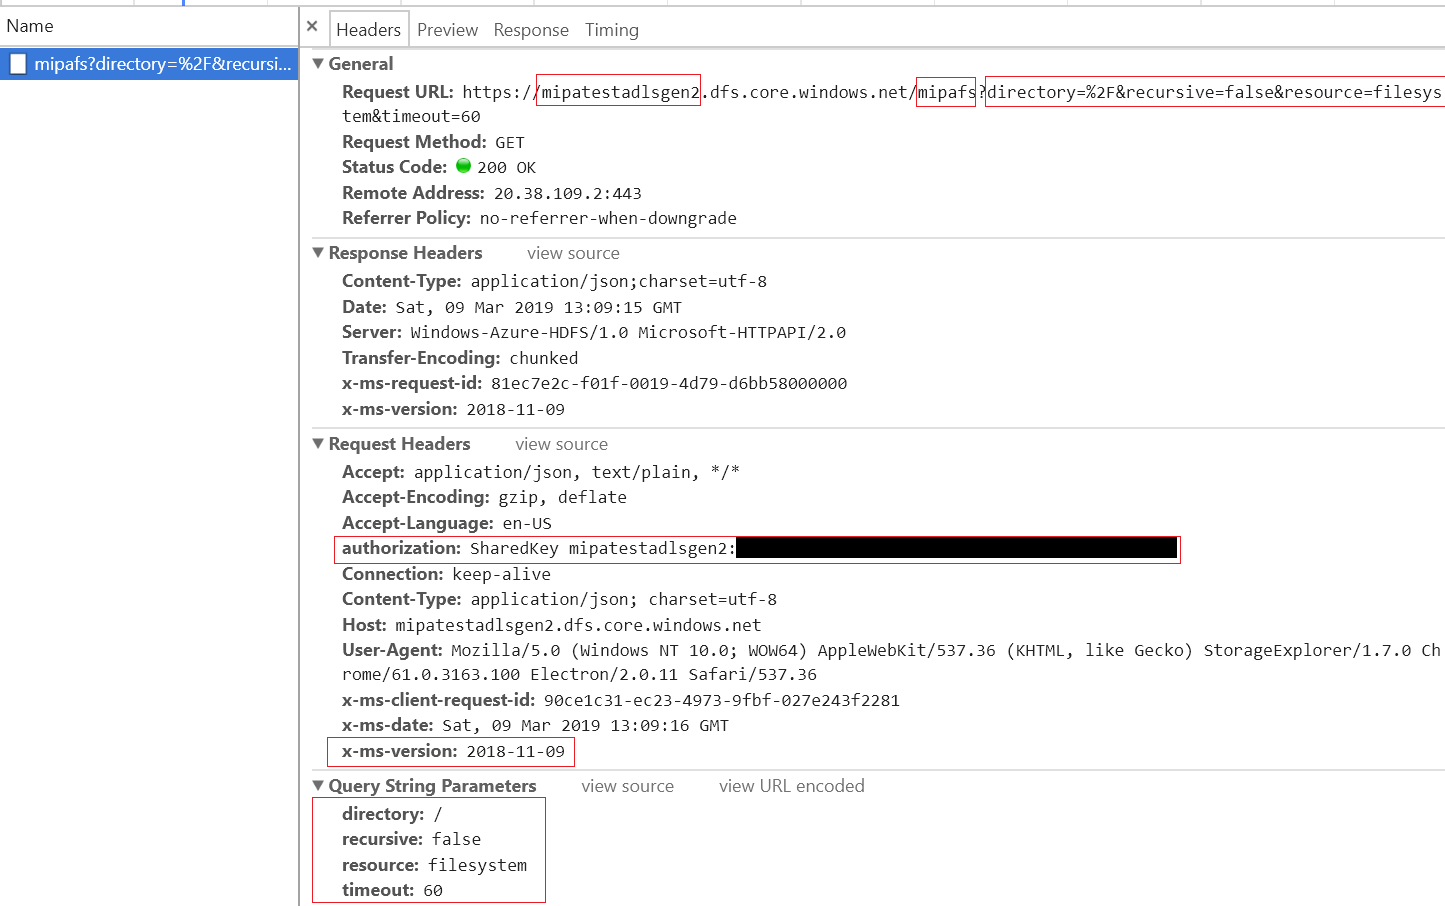
And Voilà! We can see headers for the request and for the response.
Pay attention to several important details:
- request method (currently GET)
- request will always go to URL, that have storage account name and file system name encoded in URI, but also with all parameters needed to initialize proper action, in our case it’s listing files (resource=filesystem) in particular folder (directory=%2F, which is “/” – root directory)
- a “authorization” header must be attached to the call, this is something really important and not easy to implement 😛 Basically it’s just encoded call using your shared key and some base64 algorithm. I will explain this in other post. But this is how ADLS will gonna know, that the call is requested by privileged user. It’s not just that you will send pure access key over the internet (of course not, because somebody can be sniffing your connections :D) So you have to ENCRYPT your REST CALL using access key, whis will be used as VERIFICATION of the call when ADLS server will ENCRYPT your original call with the same access key :D. Haha, sounds hard? If both match – well done, you can make changes. Otherwise you will gonna get authentication error.
- x-ms-version, one magical header that is really important. It describes which API version you will gonna use to communicate with the server. Look for it in your REST API documentation of the service that you are going to implement/sniff.
And basically this is it!
You can always clear your network recording window with a button: ![]()
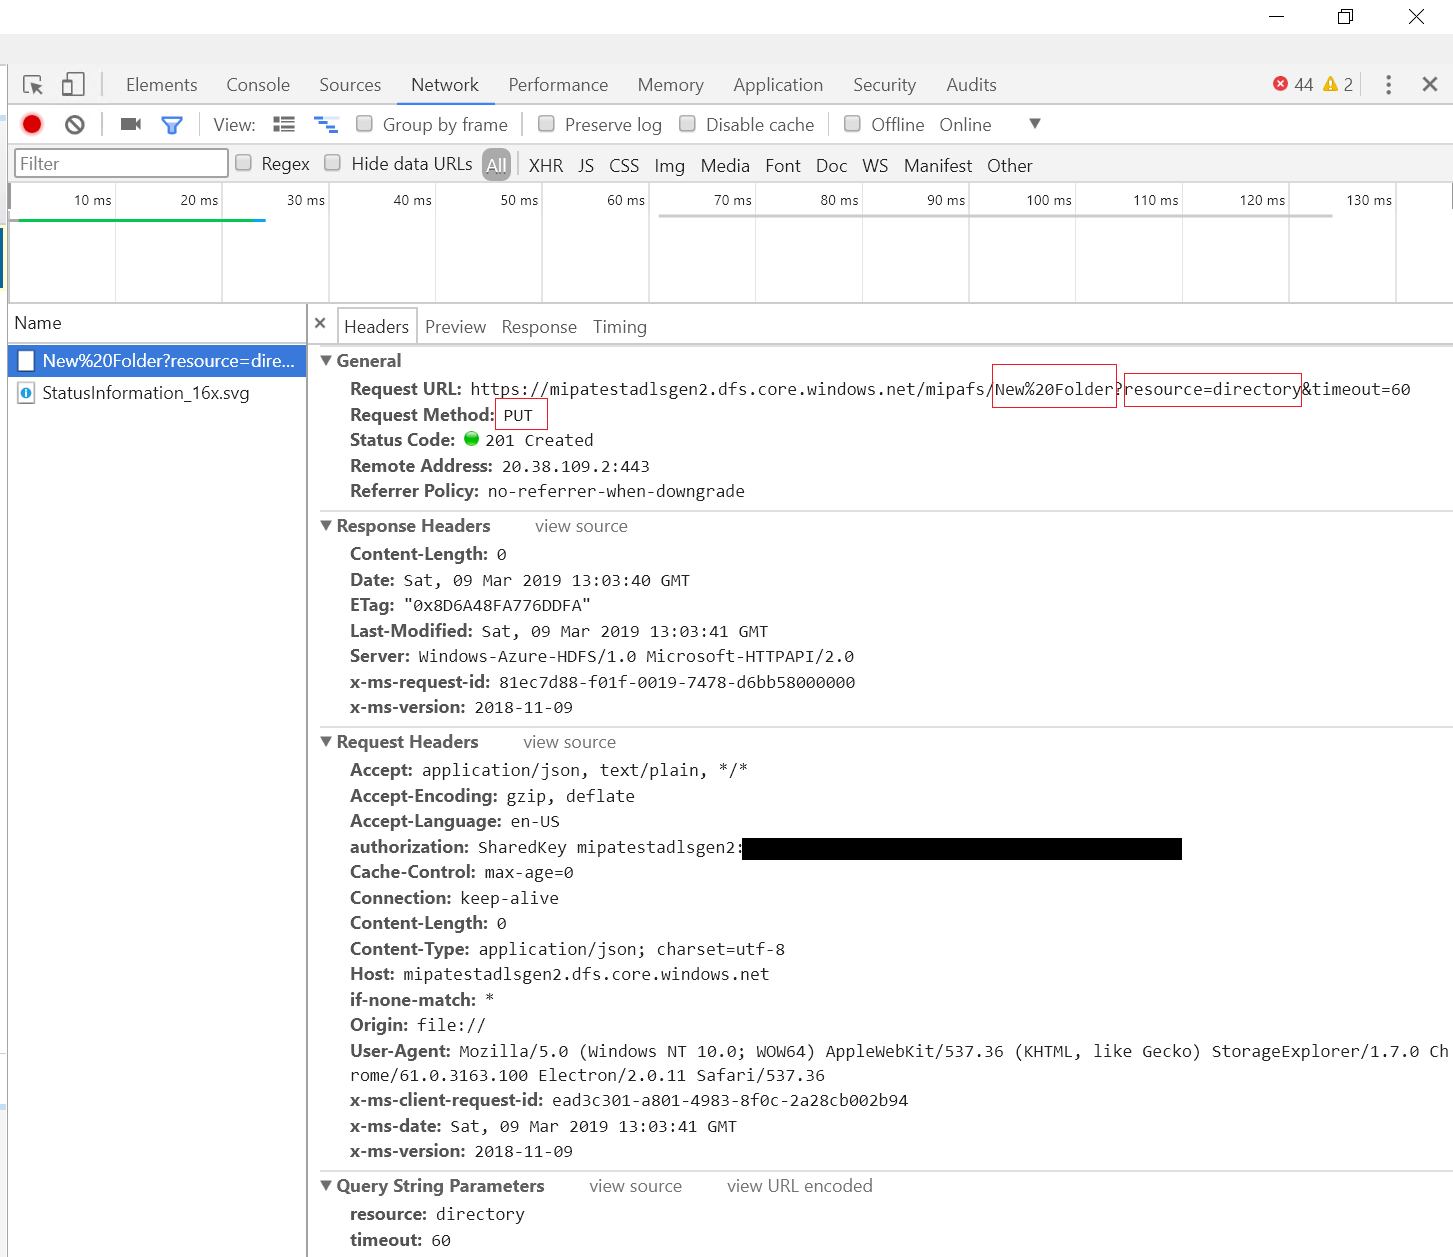
Let’s see, as a last example, how creating directory gonna look.
Previously there was a GET command, now we are actually invoking PUT to create new directory called “New Folder”.